Monday, August 18, 2014

Fun and Low Cost First Day Art Mural

Hello everyone - it's been a while since my last post. We were away in France and had very little Internet. It was a big adjustment for me and the kids to not have WiFi, but it allowed us to focus on low tech activities...like playing cards, scrabble and of course, art!

I will tell you about my adventure in France a little later, but first I wanted to share with you a Fun and Low Cost first day art project. I love collaborative projects for the first day because requires students to communicate and work together to produce a special piece of art. In addition, it is great for introduction to the elements of art.

Juan Miro and Paul Klee and two great artist that that come to mind when working in groups. 


Image: Experiments in Art Education

Have students to outline their shapes- squares, circles, triangles, etc.. (no need to sketch) with black tempera paint. Then have them connect the shapes using lines - straight, zig-zag, wave, etc... Allow paint to dry for a bit (in AZ it only takes a couple of seconds) and then fill in the shapes using bold colors.


Image: Gretchen's Art
Great for all levels, even kindergartners, just make sure to have extra hands to help out. After you are done displaying the murals, you can cut it up to size and then everyone will get a piece to take home.

TIP: If you don't have large craft paper, use the back of an old poster.

How about you? What kind of art project do you like to do on the first day?


Tuesday, May 20, 2014

Upcylced tin for Centerpieces

I was recently invited to attend a fundraiser for Childsplay's held at the Tempe Center for the Arts. The Theme was "Rock 'n Roll Chic". For the centerpiece they up-cycled coffee tins for centerpieces. These were the large coffee thins covered in paint.

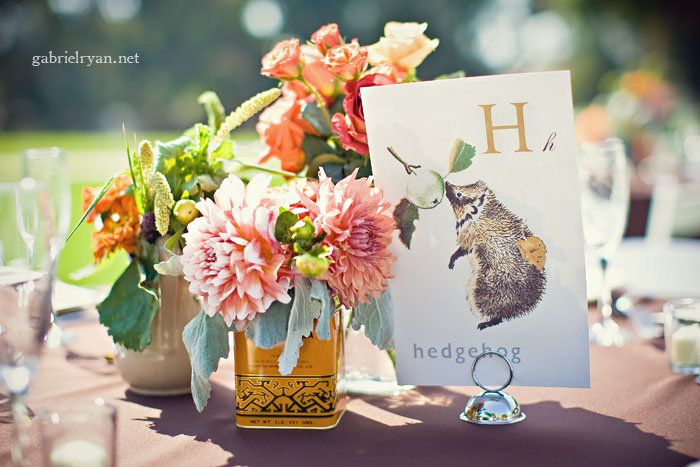
Here's a tea tin centerpiece from my annual teacher's tea. Even the most simple, understated blooms look stunning in vintage tin can containers.


Tea Tin Centerpieces from Martha Stewart Weddings .

 How stinking cute would it be to  mix-and-match tea tins for a vintage wedding?


You can pick up colorful tin cans for next to nothing at thrift shops and flea markets.Or grab some new versions (and enjoy some super delicious teas and coffee to boot). Tip: Before placing arrangements inside, line the tins with a plastic cup or a small container inside.

I would leve to  read your ideas for a centerpiece.

Mylien


XO

Sunday, May 11, 2014

DIY Mother's Day Floppy Hat with Coffee Filters

You might be thinking that hats are for Easter however, students in Ms. Ledderman's and Ms. Dulin's preschool class think they're perfect for Mother's Day!  Each student made a hat for their parent to wear during the Mother's Day tea.


DIY Coffee Filter Hats
Coffee filters are inexpensive and so versatile that they can be used for so many different crafts. They are absorbent that when you add colors to them, the colors spread to make beautiful rainbow or tie dye like effects.


Supplies:

Industrial size coffee filters (found at restaurant supply store)
Droppers or water spray (1 for each color)
Faux Flowers
Diluted food coloring or tempera paint or diluted water color paint
Washi Tape or Paper Tape
Hot glue

Place opened coffee filter on table, let students decorate by saturating filter using a spray bottle or dropper with diluted food coloring, one color at at time. Place hat on top of inverted bowl to dry.

Once filter has completely dried and working in pairs, place 1 filter on head. Pull down gently near ears. Wrap Washi tape at brim line to fit head. Flip brim up. Remove from head and attached faux flower using hot glue. Optional: Using a small coffee filter, create a“flower” by pinching filter in middle. Wrap 1" tape at middle/stem. Attach flower at brim with tape.

Don't you think they are just lovely? I wore mine when my girls "surprised" me with a breakfast of toast and cut fruit and juice. 

Have a great Mother's Day!

What about you did you receive a handmade gift? 

Wednesday, April 23, 2014

Cherry Blossom Inspired Painting

With cherry blossoms in full bloom from mid March to Mid April, it inspired me to offer cherry blossom painting during this month's Art Masterpiece. The transcendent beauty of the cherry blossoms have inspired many artists, including Japanese artist Ohara Koson, who was famous for his flower and bird paintings.


Cherry Blossom by Allessanra

We painted our own cherry blossoms using a fun and creative technique using drinking straws. I'm all about using inexpensive or recycled materials, and everyday items found around our home. It doesn’t get any easier – painting using a drinking straw! 


Set out some straws (I had the bendy ones), sheets of block print paper, and some black tempera paint that is thinned out with water and pink tempera for the cherry blossoms. The paint needs to be thin (about the consistency of milk) so that it will move across the page when blown with the straw.

 
Video by victoriarestrepo.com


Drop a small amount of paint onto your paper, next position your straw close to the paint and blow. Move the straw upwards and outwards moving the paint into different directions to create tree branches.

Cherry Blossoms by Brooke
Cherry Blossoms by Annika

CHerry Blossoms by Sarah
Cherry Blossom by Yibo

It was a lot of fun watching students try to maneuver the paint. Some got the hang of it, while others couldn't quite figure out that they had to continuously blow through the straw while moving upwards to keep the paint moving.

Visiting Washington, DC during cherry blossom festival is something I highly recomend. How about you? Have you seen cherry blossoms in person?


Sunday, April 20, 2014

DIY Mini Cupcake Stand

If you are Pinterest addict like me, you've probably seen a version of mini cupcake stands made from wooden candle sticks. I have been dying to make them, but did not want to spend the time or money to go look for the materials.


Lucky me, I happened to be at my favorite... Art Resource Center picking up supplies and stumbled upon wooden thread spools. I was tickled pink and new exactly what to do with them. So here you go....my version of a mini cupcake stand made from wooden spools.


To do this, you'll need to build the base with wooden spools and glue together with wood glue, wooden circles, or paper ornaments (I found these on clearance after Christmas). 


I made them to display our cupcakes for Easter. This project has been on my Pinterest board for a while, but now I can mark it as done! 


Do you have any Pinterest projects on your to do list?

Monday, April 14, 2014

Romare Bearden Inspired Sailboat Regatta

Students in Ms. Nafziger's class learned about Romare Bearden who was an artist who like to incorporate collage into his works.


Students created their own work of art by making a collage of a sailboat regatta. The collage was glued onto a large 22x28 canvas.The focus of the lesson was implied movement, texture and depth preception.


Romare Bearden was an African-American artist and writer. He worked in several media including cartoons, oils and collage.


How about you? Do you like any paper crafts or scrap booking?

Tuesday, April 8, 2014

Eric Carle Collages

Here are some examples of fabulous artwork from Mrs. Edinger's 3rd grade class. They created an under-the-sea themed fish painting. They learned to mix tints and shades by adding white and black to pure paint on to paper. Next they cut out shapes to make a collage.


Collage is a technique also used by Eric Carle in his popular children's books.


Eric Carle is an American designer, illustrator, and writer of children's books. To create his beautiful pictures he uses a collage technique, of hand-painted tissue papers, which he cuts and layers to form bright and colorful images. He is most famous for The Very Hungry Caterpillar.

 Children's Book Author Eric Carle